
I received an email request for these instructions. I considered that more folks might benefit if I answered in a post for everyone instead of an email to just one. So here goes.
>>>Edit: Since this tutorial was first posted, some changes have been made in Windows 7 (through Windows Update/Update Rollup or some such) to the extent that the full listing of options won’t display unless the commandline is run in an elevated Command Prompt window – Right-click Command Prompt and select Run as administrator. This procedure works equally well in Windows 8/8.1 and Windows 10/10 AU.<<<
To setup “WindowsSystem32Cleanmgr.exe /sageset:01” just type that line (without the quotes) on the Start Screen. It will open up Disk Cleanup Settings on the desktop. If you’re using a Start Menu with Widows 8 (or using Windows 7) type that line in the Search box or Run box and hit Enter.
Choose the options you want, then click OK (in XP “Compress old files” is an option; don’t select that one – it will take forever on the first run). “Sage” is System Agent. There may be other Windows utilities that use it, but the “/sageset” switch is used to choose options/conditions and store them associated with a number. I use “/sageset:01” for Disk Cleanup. You can use any number up to 65535 (I think that’s the largest number it will recognize).
To test it, on the Start Screen (or in the Run or Search box) type “WindowsSystem32Cleanmgr.exe /sagerun:01” (without the quotes) and hit Enter. It will jump to the desktop and run there. The “/sagerun” switch tagged with the correct number runs the options/conditions selected associated with that number.
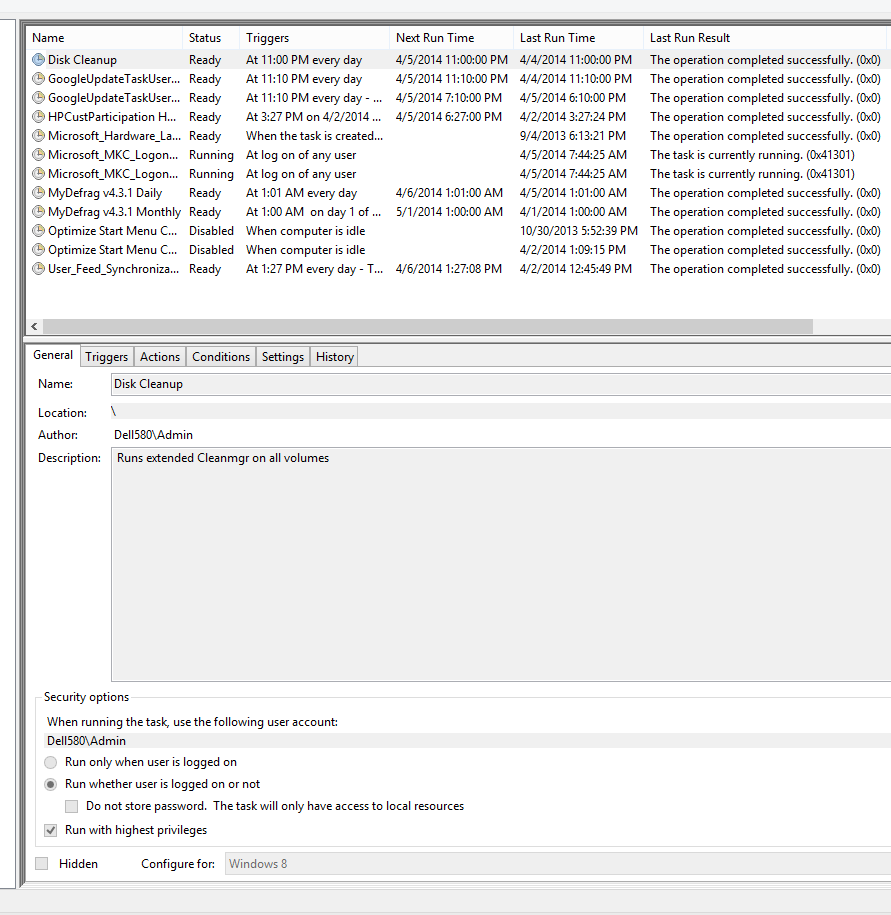
If that runs as you wish, you can create a desktop shortcut if you like by using that command line. Also, you can set it up to run automatically using Task Scheduler. Open Task Scheduler either logged into an account in the Administrators group, or right-click and select “Run as administrator”. It will open in the Task Scheduler Library.
In the far right pane, click on “Create Task”, and a new task dialog box will open. In the General tab, use the settings as shown here. The dialog box won’t look exactly like this (more options will be available depending on which tab you’re on), but these are the settings to use:
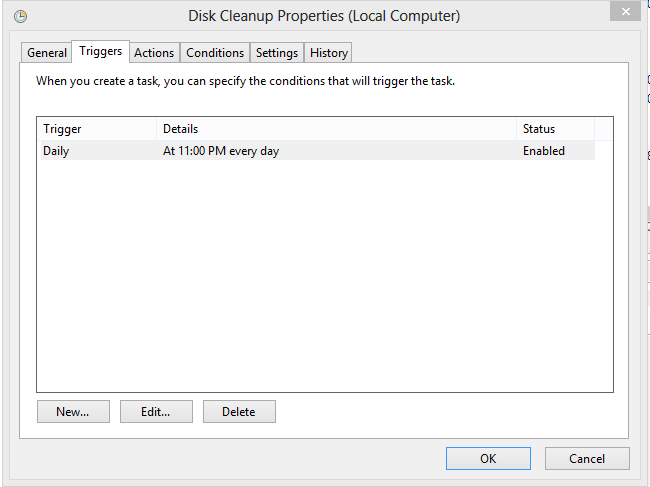
You can name the task whatever you wish, and put in a description if you like. Next, click on the Triggers tab, and use the settings as shown here, just use whatever time you wish:
Next click on the Actions tab, and use these settings:
Next click on the Conditions tab, and use these settings:
And finally, click on the Settings tab, and use these.
If you have a question, post it in a reply, and I’ll try to answer it.

