2000009: Getting out of a no-boot situation after installing Windows updates
by @MrBrian
Published February 13, 2018 | rev 1.2.0
Note: This method is available on Windows 7 and later Windows operating systems.
Use the following method when Windows fails to start successfully after installing Windows updates. This method removes all partially-installed updates.
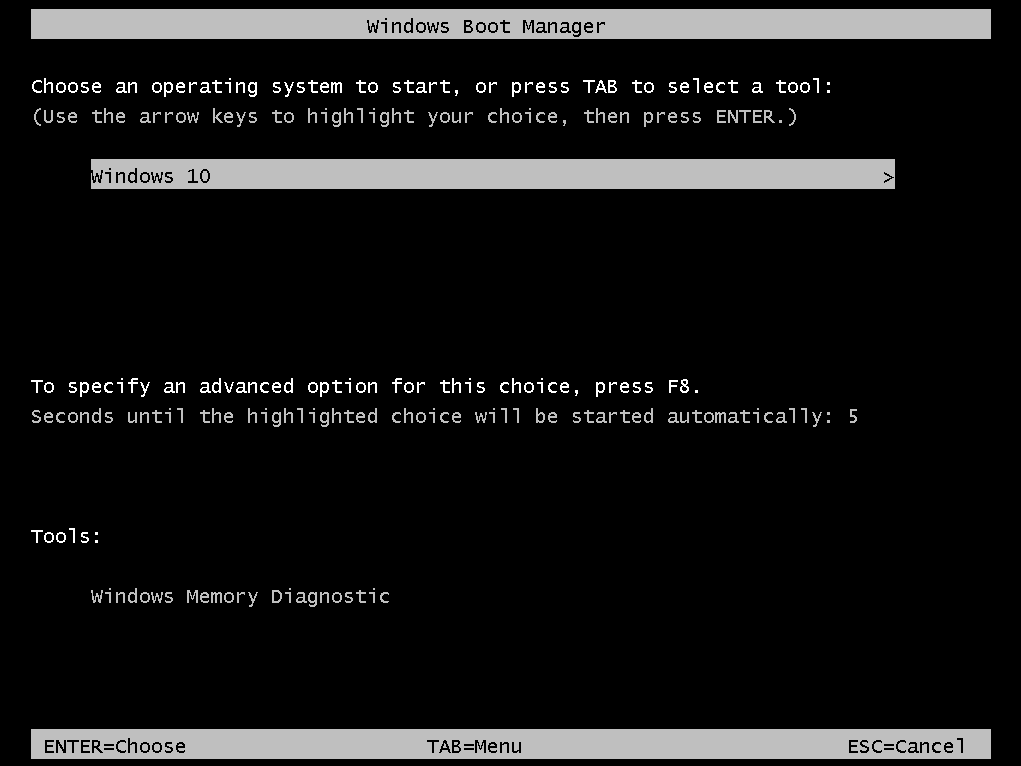
1. Our goal in this step is to start the Windows Recovery Environment. There are various ways to do this. Do one of the following:
a) Boot into Windows Recovery Environment by pressing F8, Shift+F8, or some other key. See section “Access the Windows Recovery Environment from the Advanced Boot Options” of Windows Recovery Options (Windows 7 / Vista) or Method 6 of How to Access Advanced Startup Options in Windows 10 or 8. This might not be possible to do for some operating systems unless you previously enabled it by following Noel Carboni’s advice in one of the comments or How to Enable or Disable Legacy F8 Advanced Boot Options in Windows 10.
b) Start (or restart) your computer two or three times. If you see the Launch Startup Repair option, choose it, and then optionally press Cancel to cancel the Startup Repair, and then click “View advanced options […].”
c) Boot into Windows Recovery Environment using Windows installation media. See section “Access the Windows Recovery Environment from Windows Installation Media” of Windows Recovery Options (Windows 7 / Vista) or Method 4 at How to Access Advanced Startup Options in Windows 10 or 8. See also: Create installation media for Windows.
d) Boot into Windows Recovery Environment using a system repair disc. See What is a system repair disc and how to create one in Windows.
e) Boot into Windows Recovery Environment using a recovery drive. See How to Create and Use a Recovery Drive or System Repair Disc in Windows 8 or 10 or Method 5 at How to Access Advanced Startup Options in Windows 10 or 8.
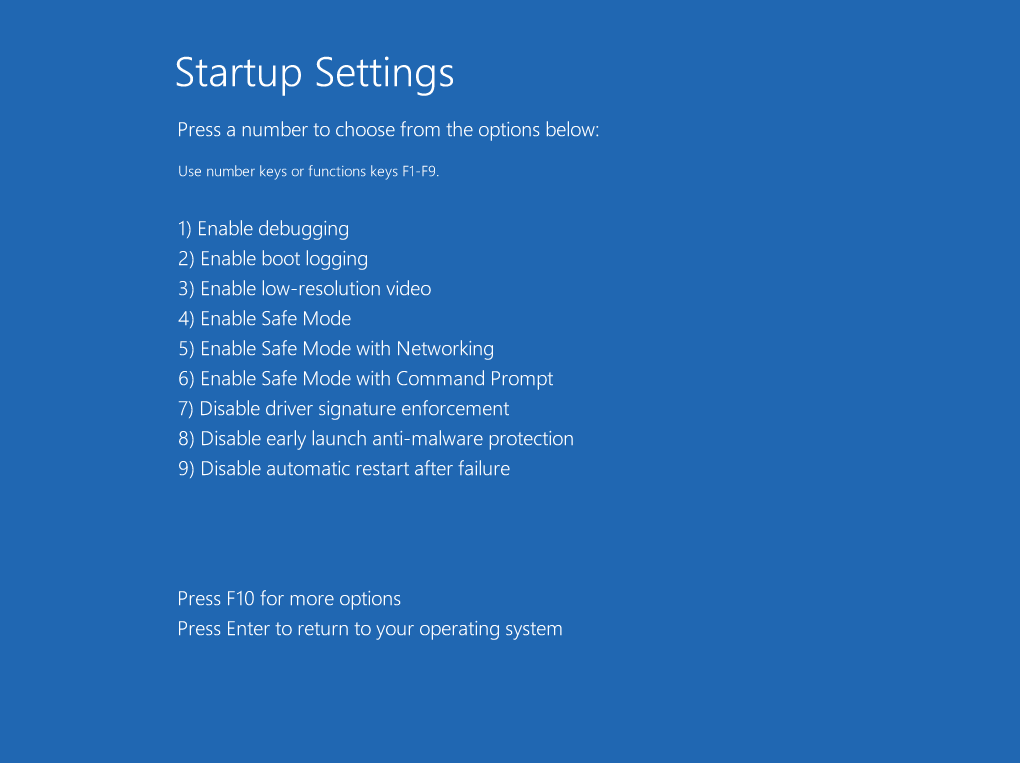
2. Navigate within the Windows Recovery Environment until you find Command Prompt and click it to open a command prompt.
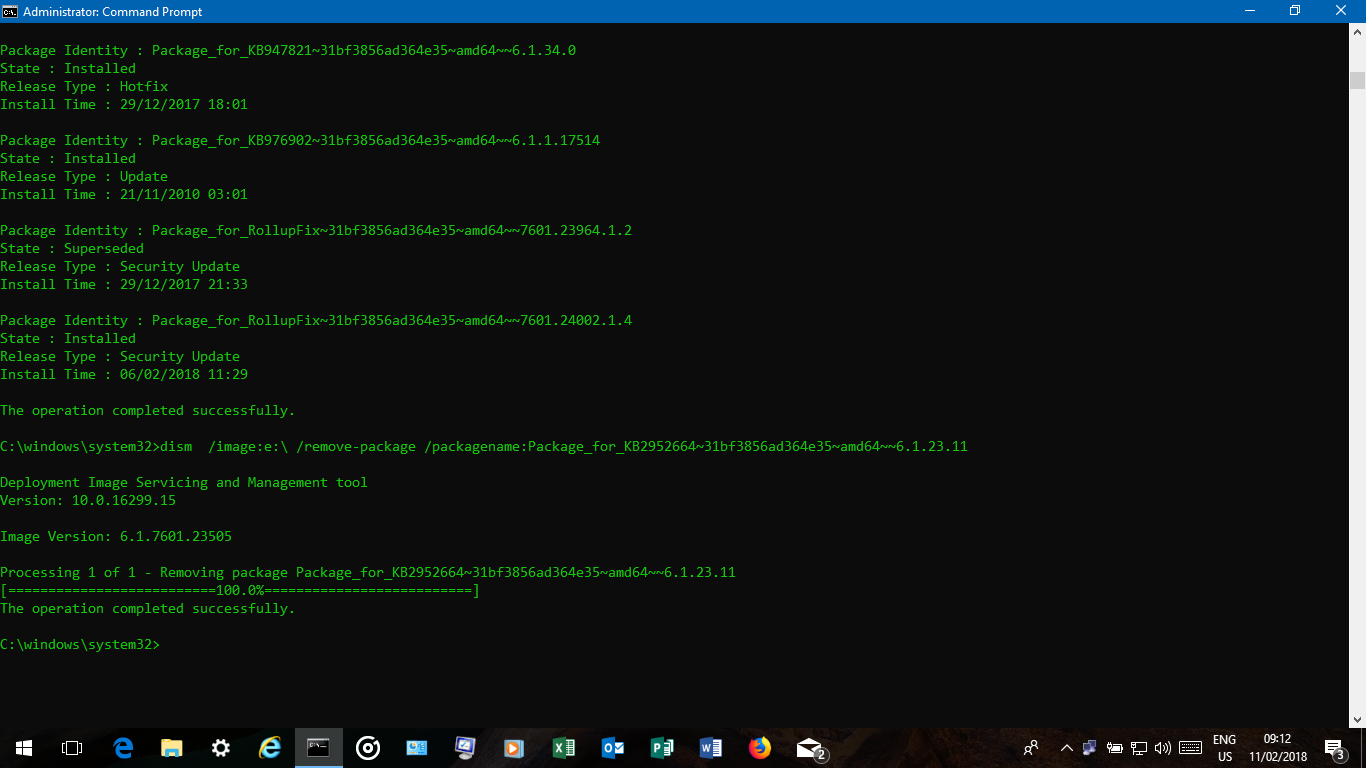
3. In the command prompt, type
dism /image:d:\ /cleanup-image /revertpendingactions
and then press the Enter key and wait until it’s done. If you see error “Unable to access the image” then you’ll need to replace “d:\” in the previous command with a different letter such as such as “c:\” or “e:\” in order for it to work.
4. In the command prompt, type
exit
and then press the Enter key.
5. Restart your computer.
Technical references:
Getting out of a no boot situation after installing updates on Windows 7-2008R2
Understand and Troubleshoot Servicing in Windows Server “8” Beta (contains more info about the revertpendingactions command)